Gimp Draw Line on Path
Introduction to Line Tool in GIMP
Line tool refers to a tool through which you can draw different types of lines, but GIMP does not offer any specific tool with the name Line tool. In place of this specific tool, we have many other tools through which we can draw lines in many ways by making a minor adjustment in their parameters. Tools that are used for the drawing line in GIMP are the Paint Brush tool, Pencil tool, Air Brush tool, Ink tool, Path tool, and Rectangle Select tool. So let us see how we can use these tools for the drawing line?
How to draw Line in GIMP?
First of all, create a new document, then move to our first tool.
Paint Brush as a Line tool
Now take the Paint Brush tool or press P as a shortcut key.
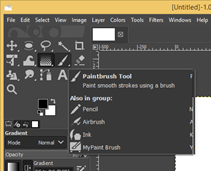
Now click on anywhere in the document area for the start point of the line, then drag the mouse cursor in another direction by holding the Shift key for the line's endpoint. When you drag it in another direction and hold the shift key, it will show you a guideline like this.
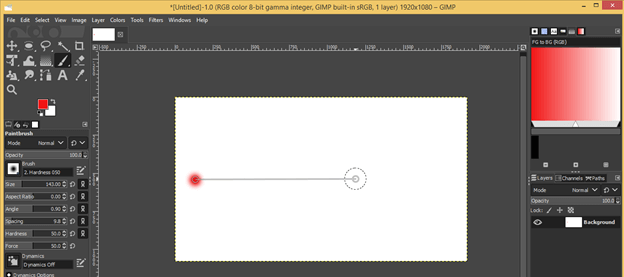
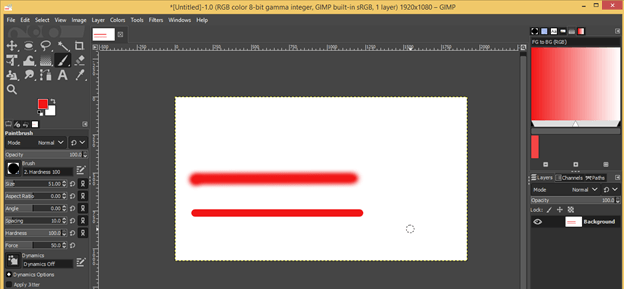
Now make a click on the other end at your desired direction and distance. You will get a line by doing this. This line is a few soft edges because we have a soft brush selected. You can choose the brush tip of 100 % hardness.
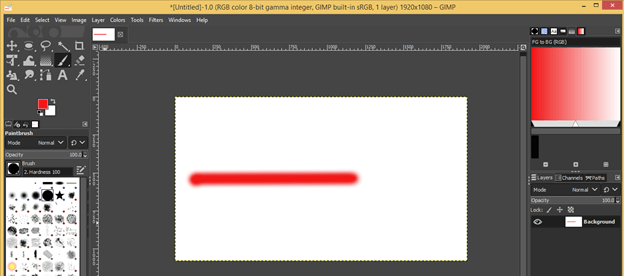
And now you can draw hard edges line by the same method as we have done in the above step.
Pencil as a Line tool
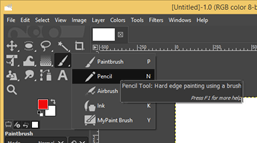
Take the Pencil tool or press N as a shortcut key.
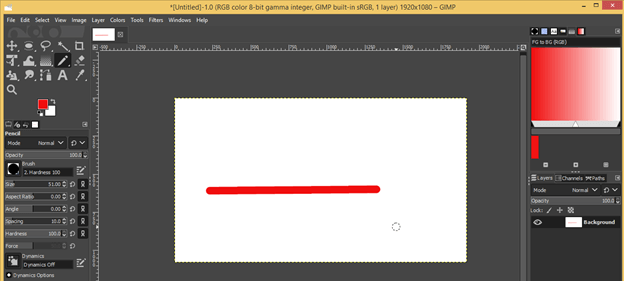
Use the same method for drawing the line as we use with the Paint brush tool, and you will have this type of line.
Difference between the line drawn by Paintbrush and Pencil
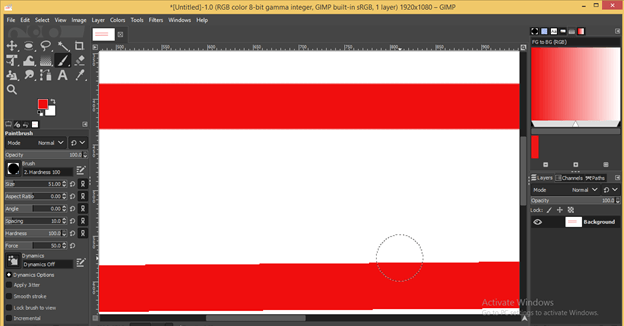
There is little difference between lines drawn by both tools. Draw a line by using both tools one by one. The upper line is drawn with a Paintbrush, and the lower line is drawn with a Pencil.
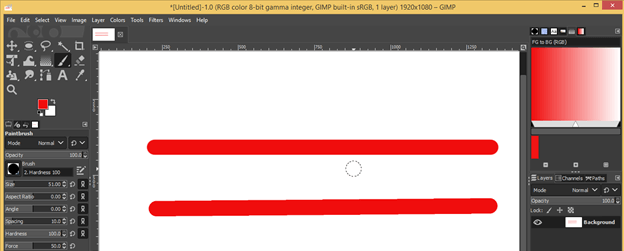
Now zoom in, and you can see there is no distorting pixel on the upper line, and on the lower line, it got pixelate. So I think you understand what is different between both of them.
Air Brush tool as a Line tool
Now take the Air Brush tool or press A as a shortcut key.
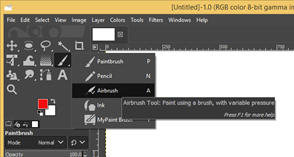
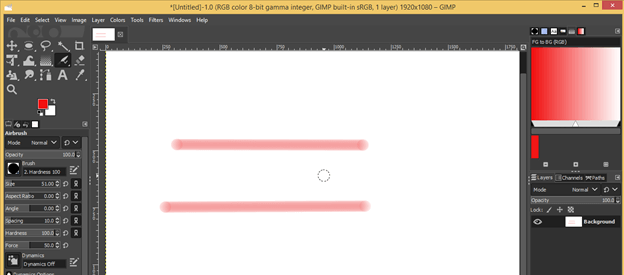
The drawing method of line with this tool is also the same, but you will get a line of less opacity with this tool. You will also have dots at the end of the line.
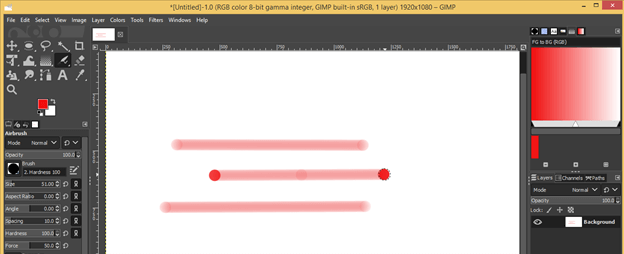
The color intensity of dotes on the end of the line depends on how long you hold the cursor of this tool on that dot; that means click on the start point and hold click for few seconds, and you will get this type of dark dots.
You can use this tool for making this type of shape by using lines.

Ink Tool as a Line tool
Now take the Ink tool or press K as a shortcut key.
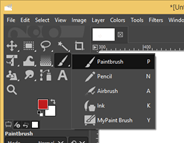
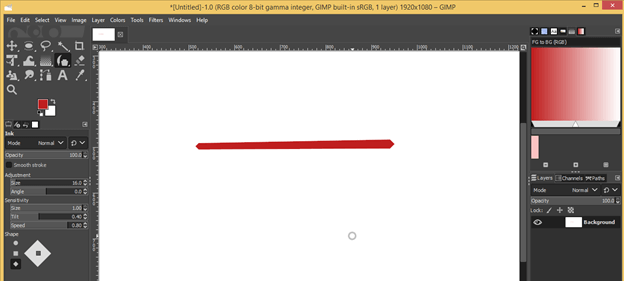
Now draw a line, and you will get a line of different thicknesses on both sides with this tool.
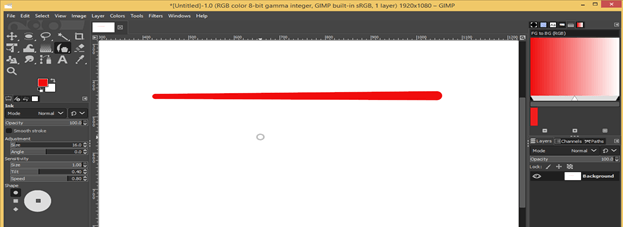
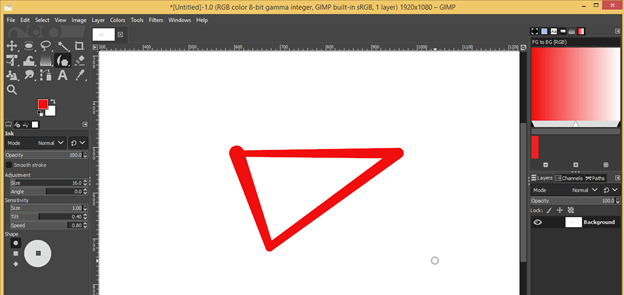
You can draw this type of shape by using this tool as a line tool.
If you want to change the shape of the start and endpoint of the line, then choose a shape from this option. I will choose a Diamond shape this time.
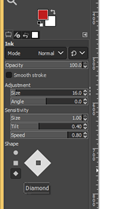
Now again, draw a line with it, and you can see the change.
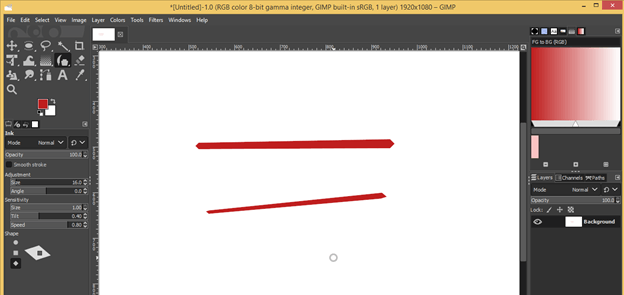
You can also change the perspective plane of the line by changing it from this option. Move square on the white plane for changing the perspective plane. I will change it like this.

Now draw the line again, and you can see this will draw on your chosen plane.
Rectangle Select tool as a Line tool
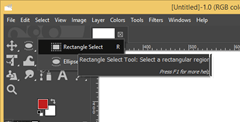
Take the Rectangle select tool or press R as a shortcut key.
Draw this type of rectangle with this tool and make a right-click on it. Click on Fill with FG color for filling color in this rectangle selection. You can change its color later as per your choice.
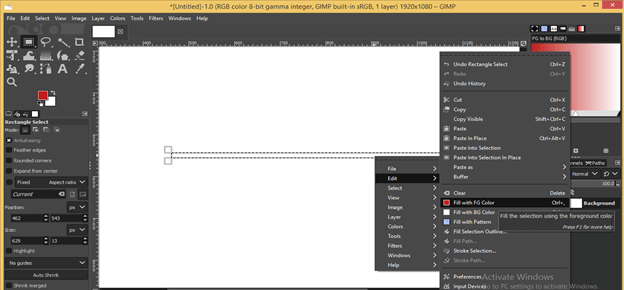
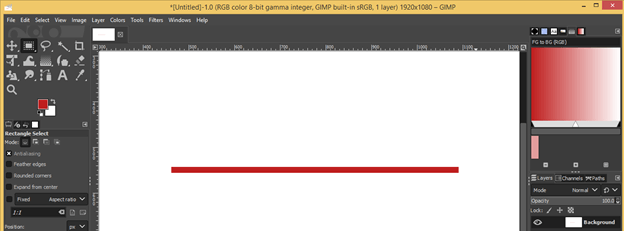
And it will fill with the foreground as we choose this option for filling.
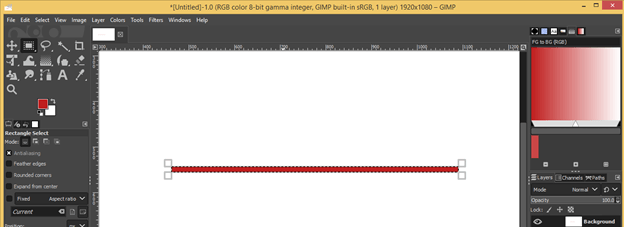
Now disable selection by click on the 'None' option of the Select menu.

And your line is ready.
Path Tool as a Line tool
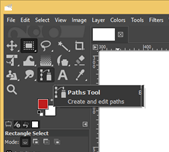
Take the Path tool or press B as a shortcut key.
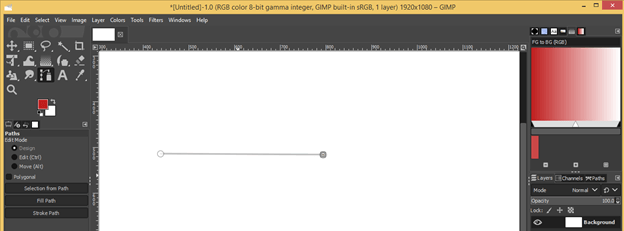
Now click on anywhere in the document area and make another click on your desired direction. You will have a path in line with this tool.
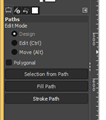
Now click on the Stroke Path option of the path tool for having stork on this line path.
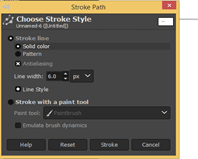
Click on the Solid color option for filling solid color in stroke, then choose the width of the line and hit on the Stroke button.
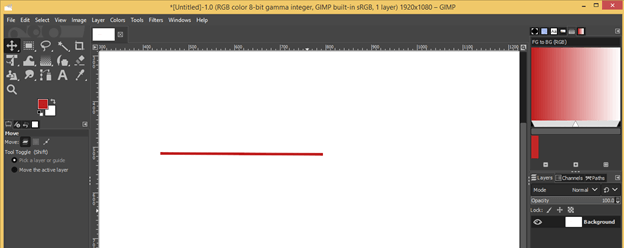
And you will have your line.
Now let us look at a different form of the line that we can draw with these tools.
Straight Line
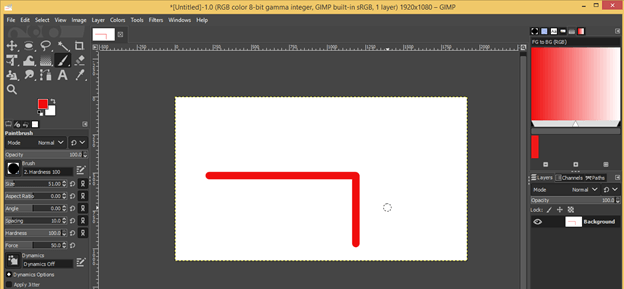
You can use any of the above-discussed tools for drawing a straight line. I will show it to you with a brush tool, so make a click for the start point of the line, then hold the shift button for drawing the line and also hold the Ctrl button for a straight line. When you hold the Ctrl button also it will straight your line in your chosen direction.
Inclined line
You can also use all the above-discussed tools for this purpose. For drawing an inclined line, just hold the Ctrl key with the shift key and move the cursor in an inclined direction; then, you will have automatic inclines of the line at a difference of 15 degrees per movement. You can see a change of angle at the button of the document area.
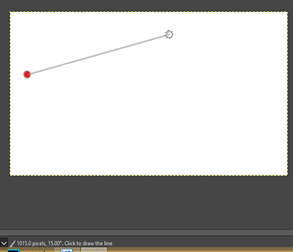
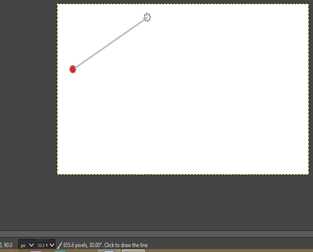
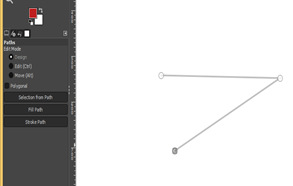
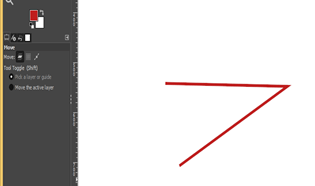
You can draw an inclined line at any angle by using the Path tool as a line tool.
Curved Line
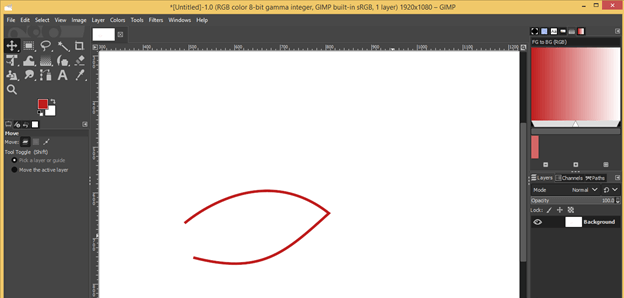
Path tool is the best option for drawing a curved line. Just make a click for the start point and then click in another direction for the next point, then drag the mouse without releasing the mouse button. Do the same for the next curved line. This way, you can draw a path for a curved line.

Fill it with a stroke.
Conclusion
This is all about different software tools that you can use as a Line tool because GIMP doesn't offer any specific tool as a line tool. Now go through all tools and analyze which will be better for you for using that as a Line tool.
Recommended Articles
This is a guide to the GIMP line tool. Here we discuss the different tools of this software which you can use as a Line tool because of GIMP. You may also have a look at the following articles to learn more –
- Best Graphic Design Software
- GIMP Alternatives
- Smooth Tool in Illustrator
- What is Graphic Design?
Source: https://www.educba.com/gimp-line-tool/
0 Response to "Gimp Draw Line on Path"
Post a Comment